Hey Steam Deckers, I didn’t know there was a bigger Steam Deck community. So I’m sharing my post from the other one: https://lemmy.world/post/2888070
Demo:
https://youtu.be/0vzsUnbOR9c


Want to gain more control using an extension riser such as KontrolFreeks and still keep capaictive touch for gyro aiming and more?
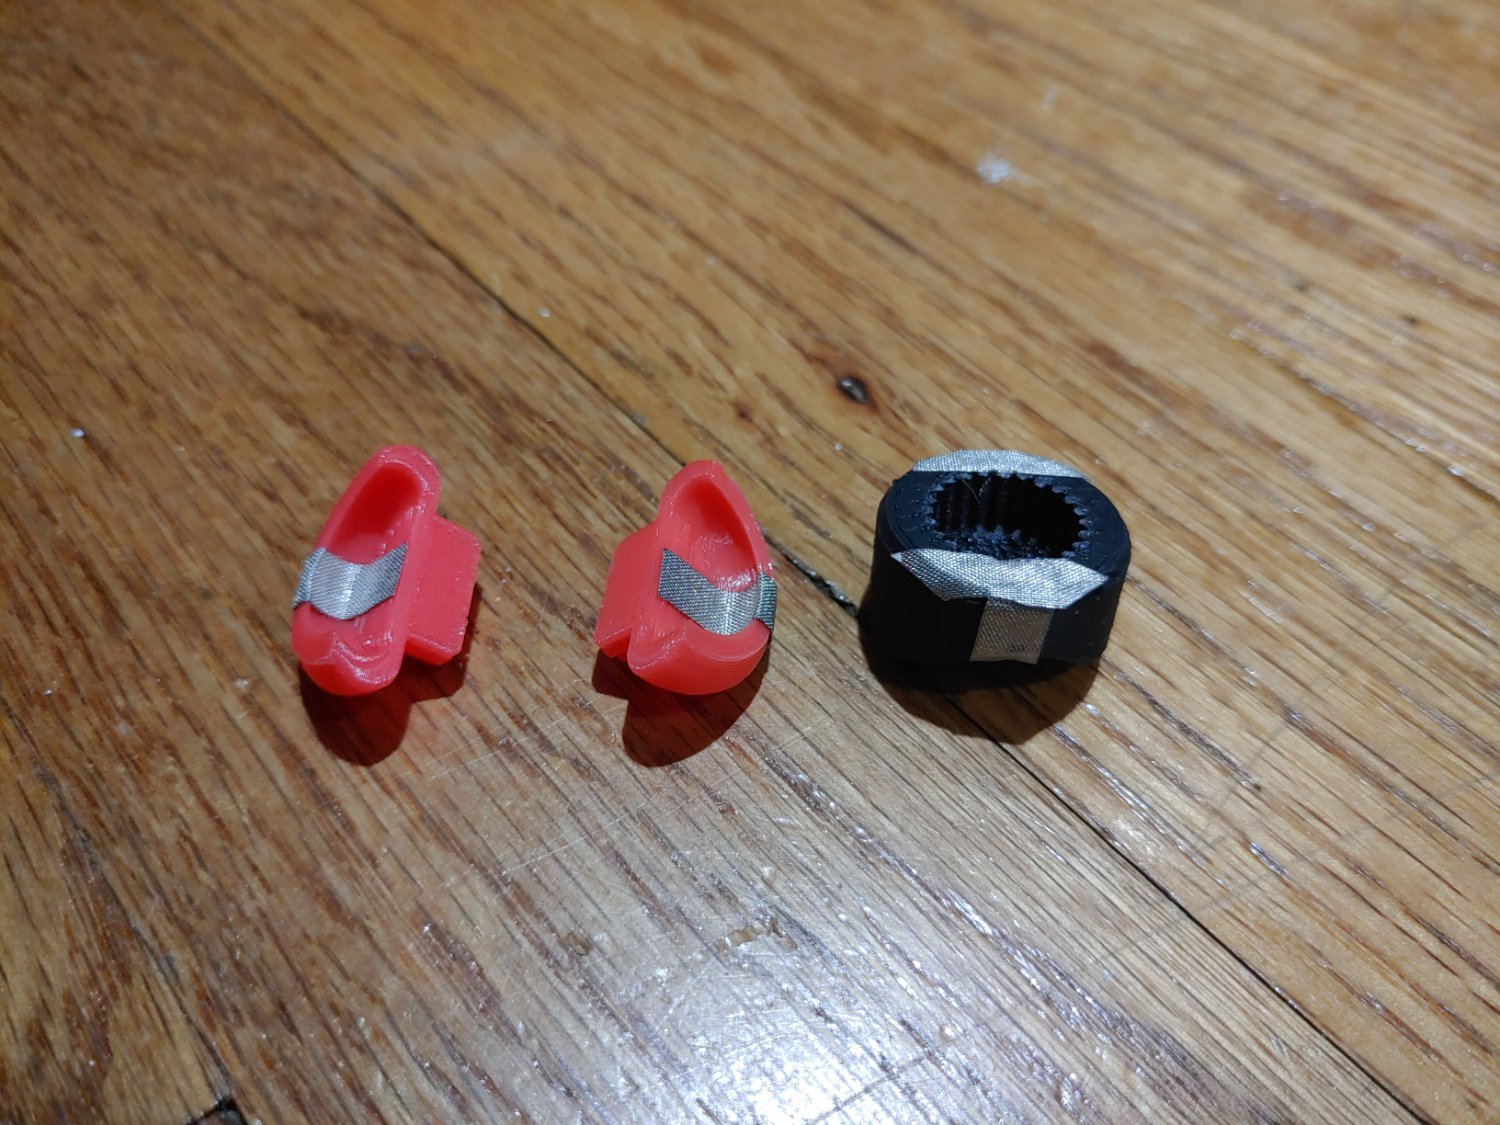
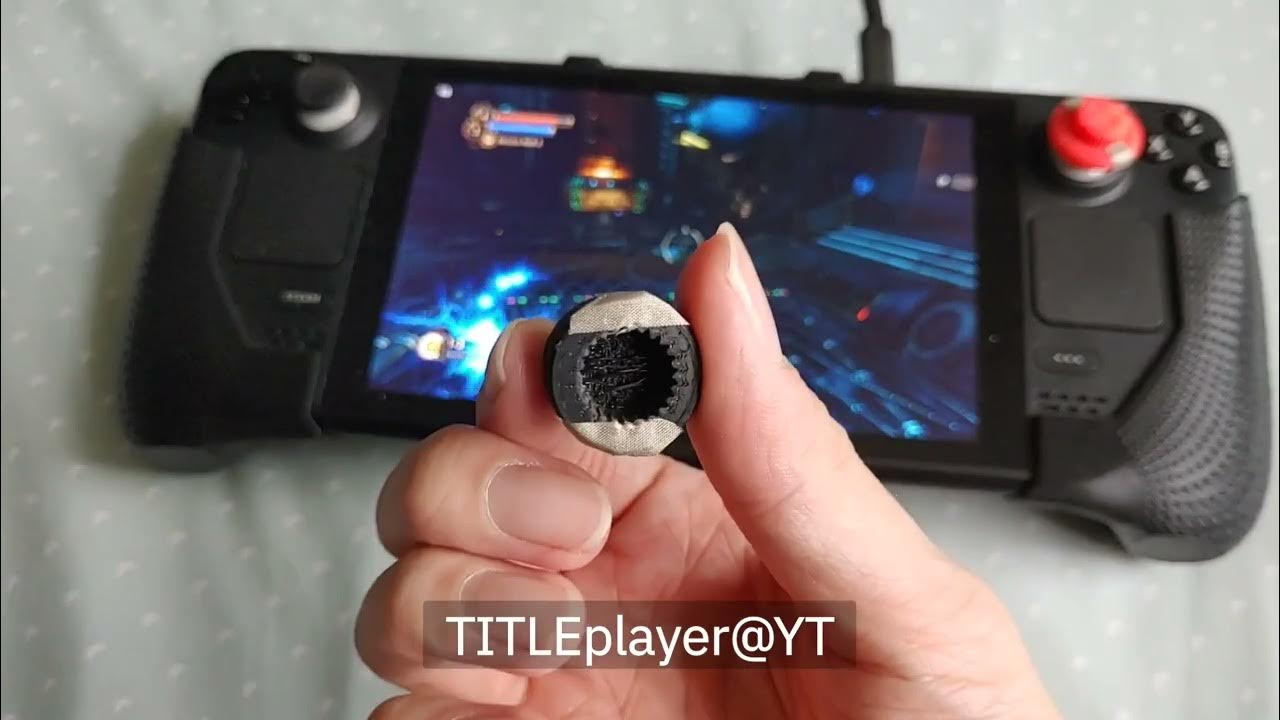
I got a solution for you! I bought this 3d printed clip-on meant for XBOX Series/One. It’s a little loose on the Steam Deck’s joystick; however, that leaves room to put into conductive material to activate the capacitive touch.
I used Greg’s LiveZone | Superior Thumbstick Upgrade - Clips on from his Etsy store. https://www.etsy.com/listing/1362835549/livezone-superior-thumbstick-upgrade
At first, I tried it out with aluminum foil and that works. But, it tears easy and is quite slippery.
I bought and used a conductive fabric tape from US Amazon: GENNEL 5mm x 20M (0.2in x 65ft) Conductive Cloth Fabric Adhesive Tape, Faraday Tape for EMI Shielding, Interference Signal Blocking, Laptop Mobilephone LCD Repair, Cable Wire Harness Wrapping
https://www.amazon.com/Conductive-Fabric-Adhesive-Laptop-Shielding/dp/B01ALDR0D0
And there you go! More control during aiming and you can still activate gyro.
I hope this helps people


As I make this stuff, let me say you got lucky with dimensions. Bloody analog sticks are all different in size…
Whoa, this is cool! I can only imagine how time consuming it is.
I wished I have the time and money to learn design engineering and 3d printing, and own a printer.
I would love to make 3d-printed thumbsticks for my Dualshock 2 and 3, and even Logitech pedals. The original Kontrol Freeks for Dualshock 3 are rare and have been sold for like $100 on eBay.
That’s some awesome stuff you’re making! I would to see how your iterations and creations improve 💪
You would be surprised about the time and skills it takes… let’s just say that I use a tool meant to teach kids lmao https://www.tinkercad.com/
It’s not hard, really. I grab my caliper, take measurements of the diameter of the analog stick, write them down, open Tinkercad and it’s really just a bunch of cylinders I’m working with. Often the hardest part is finding a good logo that will print.
The real time wasting stuff is when I make them too thin and feel too flimsy, or when I print a test one and it’s either way too loose or not large enough to fit.
Now that you know how modest the skill set to design those specific things is, on to the other issue, money: a 3d printer isn’t a trivial impulse buy, but basic ones can be bought for around 200 euro! For example my Xbox analog cap has been printed on a (now discontinued) Monoprice Mini Select v2. 160 euro when I got it. There’s sub 100 ones but I don’t know how usable they are, plus they’re even smaller and size does make a difference in what you can print.